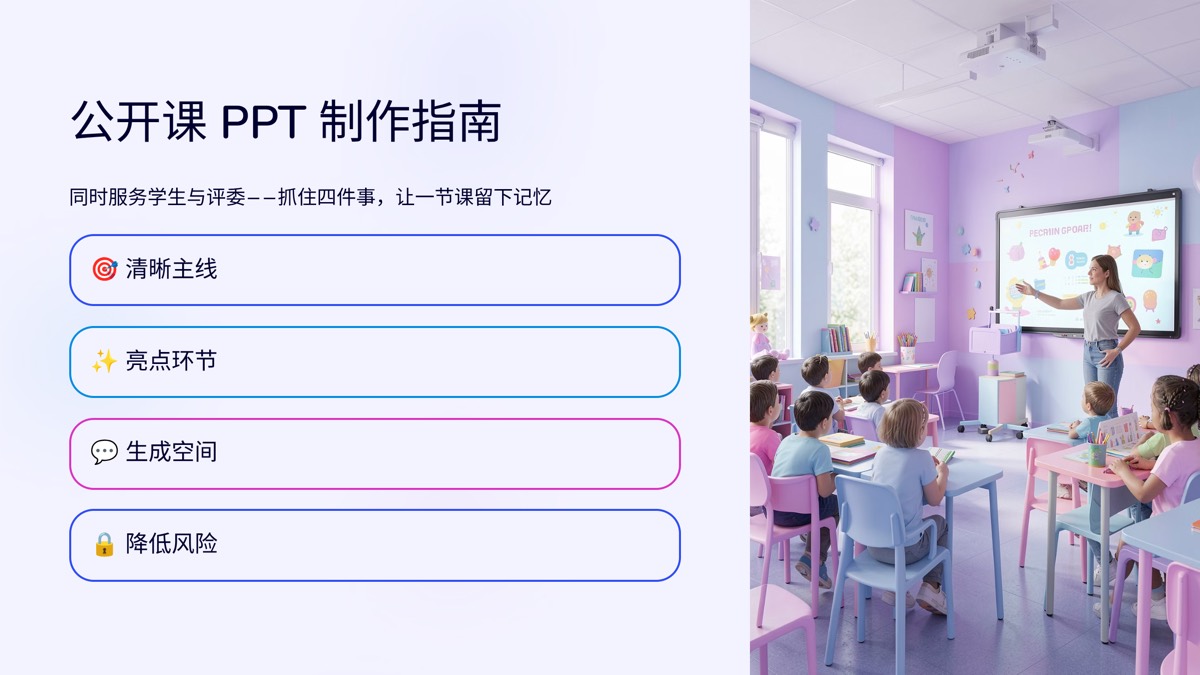
A demo lesson deck is not a fancier version of your everyday slides. It has two audiences at once: students, who need clear tasks and pacing, and observers, whether colleagues, judges or an interview panel, who need to see your lesson design. Four things carry most of the weight: one clear storyline, one memorable moment, room for unplanned student thinking, and a setup that keeps technical risk low. Below, each point is shown with a Grade 8 physics lesson on refraction.
How a demo lesson deck differs
| Aspect | Everyday deck | Demo lesson deck |
|---|---|---|
| Audience | Students | Students plus observers |
| Structure | Follows the content | Built around one driving question |
| Standout moment | Not planned | At least one moment people remember |
| Stage labels | Optional | A small label in the corner showing the current stage |
| Backup content | Rarely prepared | Hidden backup slides after key questions |
| Tech setup | Your own laptop and room | An unfamiliar room, so backups and a test run |
| Timing | Finish next lesson if needed | Must finish fully within the slot |
The two rows that decide most demo lessons are structure and timing. Many lessons are not weak in content; they simply have too many stages and the bell rings before the wrap-up.
Start with one driving question
The storyline should be a question students understand and find worth investigating. For refraction, try: why does someone spearing a fish have to aim below where the fish appears to be?
- Opening: show the fishing scenario and let students guess from experience.
- Middle: observe how light bends when it passes from air into water at an angle, and describe the rule.
- Later: use ray diagrams to show that the fish students see is a virtual image, shallower than the real fish.
- Close: return to the fishing question and let students answer it themselves.
The question raised at the start is solved at the end, and observers see the loop close. Every slide title should hang on that storyline.
Design one standout moment
A standout moment is not a flashy animation. It is usually a moment of surprise that makes students rethink. For refraction, the classic is the reappearing coin: place a coin at the bottom of a cup, have students move until the coin just disappears behind the rim, then slowly pour in water until the coin comes back into view.
The deck needs only two slides here: a task slide explaining what to do and what to watch, and a question slide asking why the coin reappeared. Let the experiment and the students' reactions take center stage, not the screen.
Leave room for the unplanned
Observers can tell when a lesson is staged. If every answer waits on the next slide, any unexpected student response makes the lesson feel stiff. Two habits help:
- Backup slides: after key questions, hide one or two slides that match likely directions, such as a comparison diagram ready for when students confuse refraction with reflection.
- Board space: where you plan to derive or summarize live, put only the question on the slide and write the conclusion on the board.
A two-week countdown
- Day 14: fix the topic, the driving question and the learning objectives.
- Day 12: write the lesson plan, marking the standout moment and timings.
- Day 10: turn the plan into a slide-by-slide outline and check every slide against the storyline.
- Day 8: generate a first draft and add lab task slides, practice slides and backup slides.
- Day 6: first run-through, with a colleague timing every stage.
- Day 4: cut based on the run-through; expect to drop one or two stages.
- Day 2: second run-through, focused on transitions and timing.
- Day before: test in the actual room for aspect ratio, fonts and video.
- On the day: arrive 30 minutes early and run the whole deck once more.
Revisions after a run-through are usually cuts, not additions. If the deck comes from an editable outline, deleting and reordering slides happens in the outline before you regenerate.
Day-of tech checklist
| Check | What to do |
|---|---|
| Aspect ratio | Confirm whether the room projects 16:9 or 4:3 so nothing stretches or letterboxes |
| Fonts | Use common system fonts or embed fonts in the PPTX |
| Video | Keep video files in the same folder as the deck; do not rely on the internet |
| Backups | PPTX and PDF on a USB drive, plus a copy on your phone or in the cloud |
| Clicker | Check the battery, learn the buttons and bring a spare |
| Laptop | Turn off notifications and updates, and stop the screen from sleeping |
Use AI to speed up the revise-and-rehearse loop
The real challenge of a demo lesson is iteration: rehearse, revise, rehearse again. In our AI slide studio you can lay out the storyline, standout moment and backup slides in a slide-by-slide outline before generating anything (no credits used), and after each rehearsal simply edit the outline and regenerate. A brand kit applies your school logo and footer to every slide, and if feedback suggests a calmer look, one-click restyle handles it. Export a PDF alongside the PPTX as your backup.
To see a finished refraction deck, open the Grade 8 refraction courseware example; it shows the exact input and can be regenerated with one click. When your plan is ready, build version one in the courseware studio.
For the criteria observers often use in feedback, read what makes good classroom slides. For exact font sizes and colors, see our classroom slide design rules.
FAQ
Should a demo lesson have more slides than a normal lesson?
Not necessarily. Observers care about a complete, well-paced lesson, so the slide count is usually similar to a regular lesson or lower. More slides make it easy to run over time and turn the lesson into clicking through a deck. Put the extra effort into the standout moment and backup slides.
What if the laptop or projector fails on the day?
Prepare three backups: a USB drive with both the PPTX and a PDF, a copy in cloud storage or on your phone, and a second laptop if possible. Keep video files embedded or in the same folder as the deck so nothing depends on the internet, and do a full test run in the room beforehand.
What if students answer in a way the slides did not plan for?
After key questions, keep one or two hidden backup slides that match the directions students are likely to take. Skip them if they are not needed. More importantly, remember that the slides serve the lesson; it is fine to step away from them and use the board to build on a student idea.
A demo lesson is a chance to make your teaching design visible, and the slides simply carry the storyline. Start your two-week countdown today by writing down the driving question, and find more prep ideas in our AI courseware workflow.

 Editorial Team